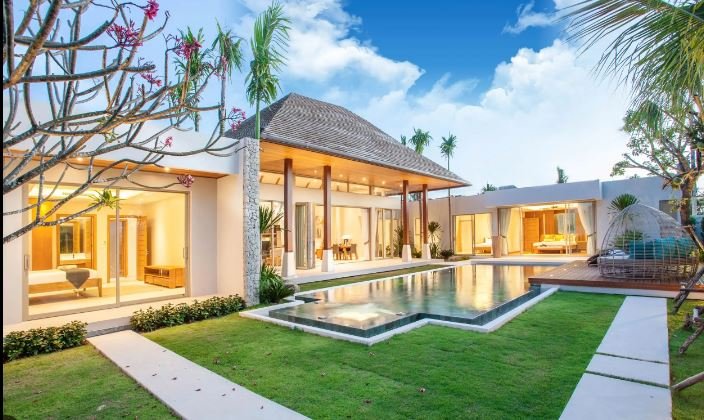
Natural light plays a crucial role in real estate photos. Aim to shoot during the golden hours—early morning or late afternoon—when the light is soft and warm. Open blinds and curtains to let in as much natural light as possible. Avoid shooting in harsh midday sunlight, which can create unflattering shadows. For rooms with limited natural light, use additional lighting sources to brighten the space.

2. Optimize Your Camera Settings
Adjust your camera settings to capture high-quality images. Use a wide aperture (f/8 to f/11) to ensure that both the foreground and background are in focus. Set a low ISO (100-400) to reduce noise and maintain image clarity. Utilize a tripod to avoid camera shake and ensure sharp, steady shots. Experiment with different exposure settings to achieve the best balance of light and detail.
3. Stage the Property Effectively
Staging is key to showcasing the property’s potential. Arrange furniture and decor to highlight the space’s functionality and appeal. Keep spaces tidy and clutter-free to emphasize the room’s size and layout. Add fresh flowers, decorative items, or stylish accessories to create an inviting atmosphere. Proper staging helps potential buyers envision themselves living in the space.
4. Choose the Right Angles and Perspectives
Selecting the right angles and perspectives can make a significant difference in real estate photography. Shoot from the corners of rooms to capture a broader view and showcase the layout. Use wide-angle lenses to make rooms appear more spacious. Avoid shooting directly into mirrors or reflective surfaces, as this can distort the image and detract from the property’s features.
5. Incorporate HDR (High Dynamic Range) Photography
HDR photography can enhance real estate photos by balancing the exposure between bright and dark areas. Take multiple shots at different exposures and combine them using HDR software to create an image with rich detail and accurate lighting. This technique helps capture the full range of light and shadows, making the property look more vibrant and appealing.
6. Edit Photos for Professional Quality
Post-processing is essential for achieving professional-quality real estate photos. Use photo editing software to adjust brightness, contrast, and color balance. Correct any lens distortions or imperfections and enhance details to make the property look its best. Be mindful not to over-edit, as excessive alterations can misrepresent the property.
7. Highlight Unique Features and Details
Focus on the unique features and details of the property that set it apart. Capture close-ups of high-end finishes, architectural details, and special amenities. Showcasing these elements can help potential buyers appreciate the property’s value and character. Ensure that key selling points, such as a luxurious kitchen or a cozy fireplace, are prominently featured in your photos.
8. Use a Consistent Style
Maintain a consistent style throughout your real estate photography to create a cohesive presentation. Use similar lighting, color tones, and editing techniques to ensure uniformity. Consistency helps convey a professional image and makes the property look more polished and appealing to potential buyers.
9. Incorporate Exterior and Aerial Shots
Don’t forget to include exterior and aerial shots to provide a comprehensive view of the property. Capture the front and back yards, landscaping, and any outdoor living spaces. Aerial shots, using drones if possible, offer a unique perspective and can showcase the property’s location and surrounding area. These images help potential buyers get a complete sense of the property’s overall appeal.
10. Focus on Curb Appeal
The exterior of the property creates the first impression, so ensure it looks its best. Clean and tidy the front yard, trim the landscaping, and remove any clutter. Take photos from various angles to highlight the curb appeal. Well-maintained exteriors attract buyers and set a positive tone for the rest of the property.
Conclusion
Capturing stunning real estate photos involves utilizing natural light, optimizing camera settings, and staging the property effectively. By choosing the right angles, incorporating HDR photography, and editing for professional quality, you can showcase the property’s best features. Highlighting unique details, maintaining a consistent style, and including exterior and aerial shots further enhance the visual appeal. With these techniques, you can create compelling real estate photos that attract potential buyers and showcase the property’s true potential.

