You want to capture the best possible images to showcase properties in their best light. Fortunately, with the right techniques and a bit of practice, you can create stunning photos that attract potential buyers. Let’s give you real estate photography tips for beginners.
Real Estate Photography Tips for Beginners
1. Invest in the Right Equipment
Having the right equipment is crucial for real estate photography. Start with a good DSLR or mirrorless camera with a wide-angle lens. A lens with a focal length between 16-35mm is ideal for capturing more of a room in one shot. A tripod is also essential to keep your camera steady and avoid blurry images, especially in low light.

2. Use Natural Light
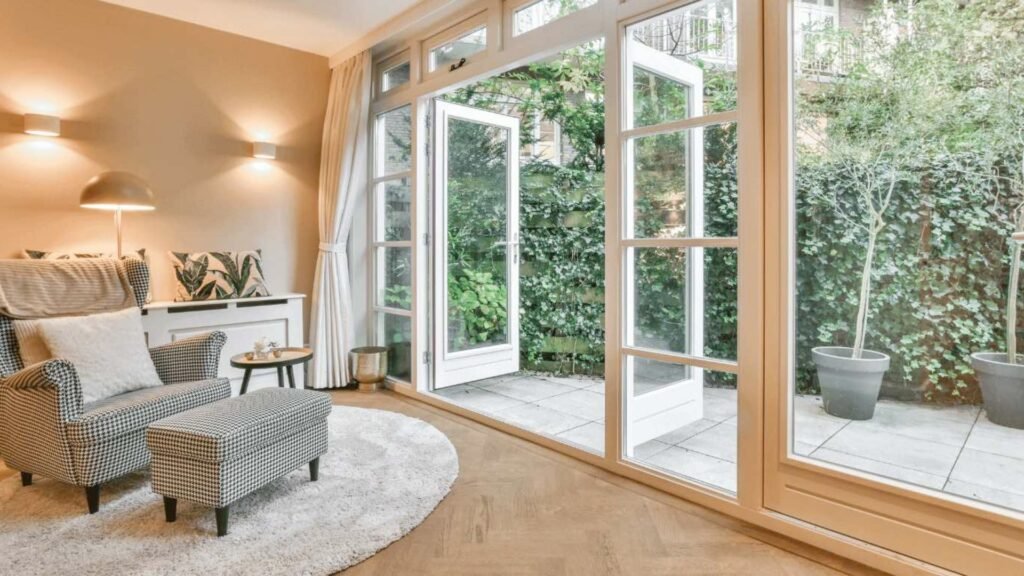
Natural light can make a big difference in your photos. Try to schedule your shoots when natural light is plentiful, such as in the morning or late afternoon. Open curtains and blinds to let in as much light as possible. Natural light creates a warm and inviting atmosphere, which can help make the property look more appealing.
3. Keep the Camera Level
One of the most important real estate photography tips is to keep your camera level. Tilting the camera can distort the image, making rooms look slanted or uneven. Use a bubble level or the grid lines on your camera to ensure that your shots are straight and balanced.
4. Declutter and Stage the Space
Before you start photographing, make sure the property is clean and well-staged. Remove any clutter and arrange furniture neatly. Consider adding a few decorative items like fresh flowers or cushions to make the space look more inviting. Staging the property can help potential buyers visualize themselves living there.
5. Shoot from Different Angles
To give a complete view of the property, take photos from different angles. Include wide shots of each room as well as close-ups of key features like fireplaces, countertops, and built-in shelves. Different angles provide a better sense of the property’s layout and help highlight its best features.
6. Pay Attention to Composition
Good composition is key to capturing great real estate photos. Use the rule of thirds to position important elements in the frame. A well-composed photo draws attention and makes the property look more appealing.
7. Use a Tripod for Stability
A tripod is an essential tool for real estate photography. It helps keep your camera steady and allows you to take longer exposures without sacrificing image quality. This is especially useful in low-light situations, where even slight movements can cause blur.
8. Edit Your Photos
Post-processing is an important step in real estate photography. Use editing software to adjust brightness, contrast, and colour balance. Cropping can help remove distractions and focus on the property’s best angles. Be sure not to over-edit, as this can make photos look unrealistic.
9. Highlight the Property’s Features
Make sure to highlight any special features of the property. Whether it’s a modern kitchen, a cozy fireplace, or a beautiful backyard, focus on these elements with close-up shots. Showcasing these features helps potential buyers appreciate what makes the property unique.
10. Take Exterior Shots
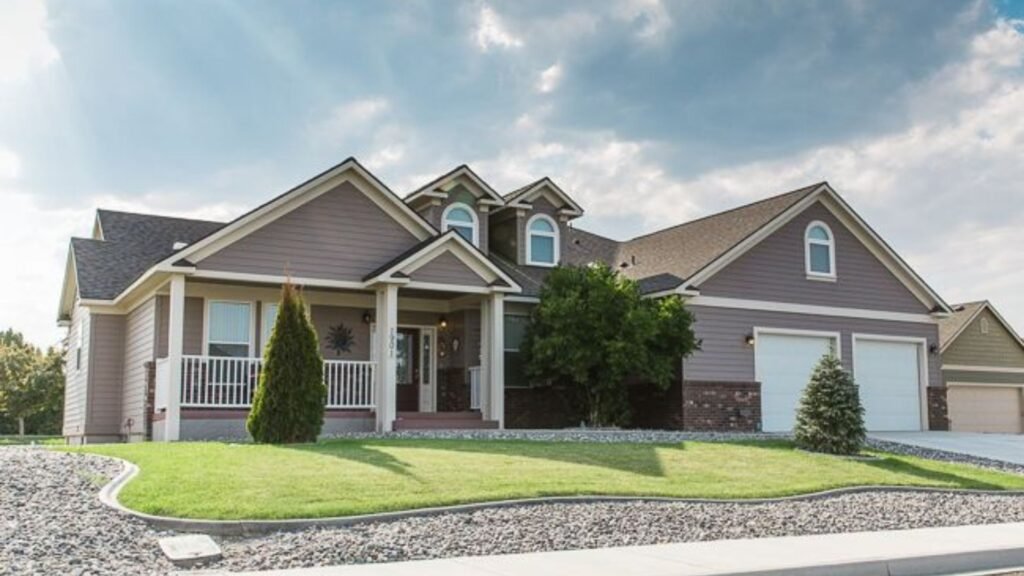
Don’t forget to capture the exterior of the property. Take photos of the front yard, backyard, and any outdoor living spaces. Exterior shots give potential buyers an idea of the property’s curb appeal and outdoor amenities, which are just as important as the interior.
11. Use HDR Photography
High Dynamic Range (HDR) photography can help you capture details in both bright and dark areas of a room. This technique involves taking multiple exposures of the same scene and combining them to create a well-balanced image.
12. Clean Windows and Mirrors
Clean windows and mirrors are essential for clear and bright photos. Dirty or streaked windows can reduce the amount of natural light entering the space and negatively affect the appearance of your images. Make sure all windows and mirrors are spotless before shooting.
13. Include Lifestyle Shots
Adding lifestyle shots can make the property feel more relatable. These images help potential buyers imagine themselves living in the home and using its features.
14. Plan Your Shoot
Planning can make your photography session more efficient and it is one of the real estate photography tips for beginners. Make a checklist of the rooms and features you need to photograph, and plan the best time of day for capturing the property’s best light. A little planning ensures you don’t miss any important shots and helps you work more efficiently.
15. Practice Regularly
Lastly, practice is key to improving your real estate photography skills. The more you shoot, the better you’ll understand how to capture the best angles, use light effectively, and edit your photos. Keep experimenting with different techniques and reviewing your work to continue growing as a photographer.
Conclusion
Following these real estate photography tips for beginners can help you capture high-quality images that showcase a property’s best features. By investing in the right equipment, using natural light, and paying attention to composition, you can create stunning photos that attract potential buyers. With practice and a bit of creativity, you’ll be able to take your real estate photography to the next level.

