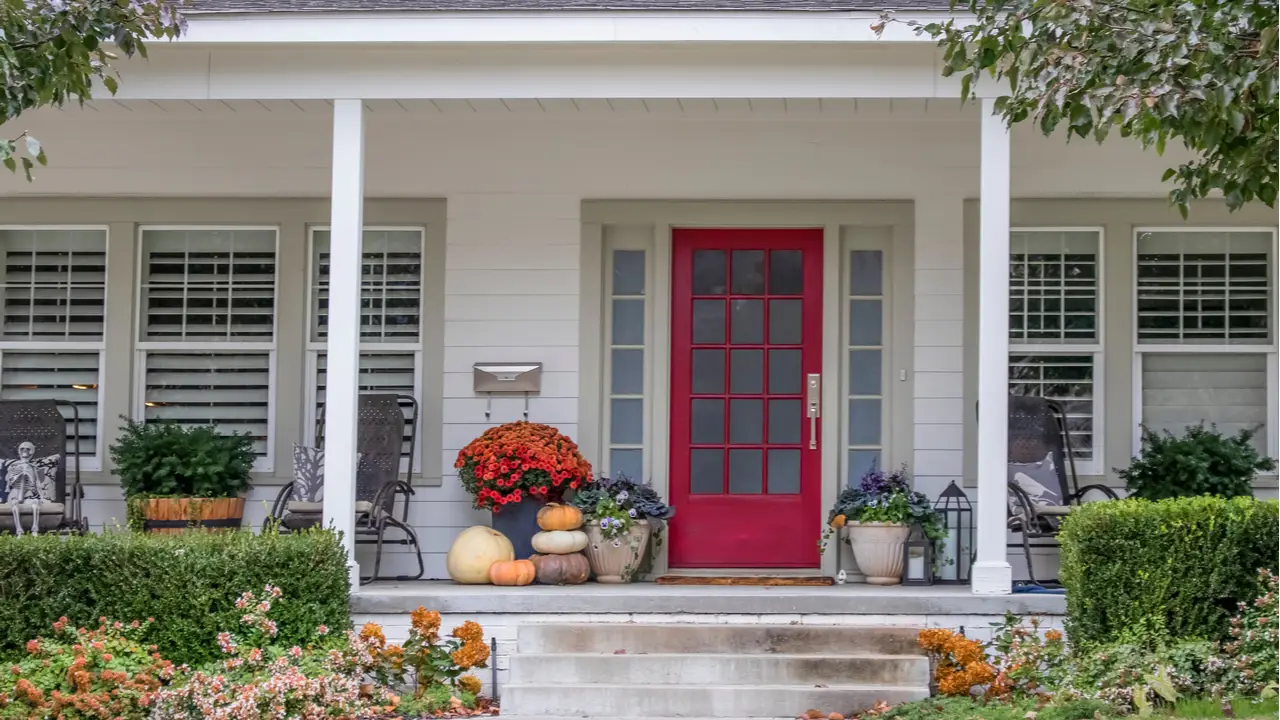
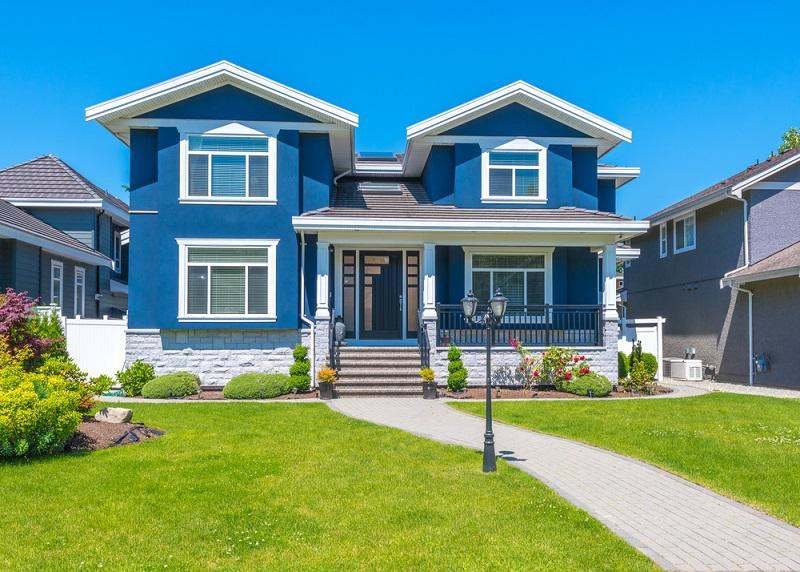
Curb appeal plays a crucial role in attracting potential buyers and making a positive first impression. Capturing the exterior of a property effectively in real estate photos requires careful attention to detail and the use of specific techniques to highlight its best features. Here’s a comprehensive guide on how to capture curb appeal in real estate photos.
1. Choose the Right Time of Day
Golden Hours:
The best time to photograph a property’s exterior is during the golden hours, shortly after sunrise or before sunset. The soft, warm light during these times enhances the property’s appearance and adds a pleasant glow to the photos.
Avoid Harsh Midday Sun:
Midday sunlight can create harsh shadows and overexposed highlights, making the property look less appealing. If you must shoot during the day, consider using techniques to diffuse the light or shoot on an overcast day for more even lighting.
2. Use Proper Lighting Techniques

Natural Light:
Utilize natural light to illuminate the property’s exterior. Open curtains or blinds to let light into the home’s interior, which can enhance the overall look of the property and create a welcoming atmosphere.
Avoid Shadows:
Be mindful of shadows cast by trees, fences, or other structures. Position yourself and your camera to minimize unwanted shadows that can detract from the property’s appearance.
External Lighting:
If photographing in the evening or at night, make sure to showcase any exterior lighting features, such as porch lights, landscape lighting, or illuminated pathways. These elements contribute to the property’s curb appeal and create an inviting ambiance.
3. Capture the Best Angles
Front Elevation:
The most important angle is the front elevation of the property. Capture a shot that showcases the entire facade, including the front yard, driveway, and any notable architectural features.
Side and Angle Shots:
Include side and angled shots to provide a more comprehensive view of the property’s exterior. These angles can highlight additional features such as side gardens, patio areas, or unique architectural details.
Framing and Composition:
Use framing techniques to draw attention to the property’s best features. Position the camera to include elements like well-maintained landscaping, inviting entryways, and attractive architectural details.
4. Enhance Landscaping and Exterior Features
Maintain Landscaping:
Ensure that the lawn, garden beds, and any outdoor features are well-maintained before photographing. Trim overgrown plants, mow the lawn, and remove any debris to present the property in its best light.
Highlight Exterior Features:
Focus on key exterior features such as a well-designed front porch, attractive entry door, or custom windows. Capture these elements in detail to emphasize the property’s charm and appeal.
Clean and Prepare the Property:
Ensure that the exterior of the property is clean and well-presented. This includes washing windows, cleaning the driveway, and ensuring that outdoor furniture and decorations are in good condition.
5. Use a Wide-Angle Lens
Importance:
A wide-angle lens allows you to capture more of the property’s exterior in a single shot, making it easier to showcase the entire facade and surrounding area.
Recommended Lenses:
- Canon EF-S 10-18mm f/4.5-5.6 IS STM
- Nikon AF-P DX 10-20mm f/4.5-5.6G VR
- Sony E 10-18mm f/4 OSS
Tip: Be mindful of lens distortion, which can occur with wide-angle lenses. Use correction tools in post-processing to ensure that the image looks natural and undistorted.
6. Pay Attention to Composition
Rule of Thirds:
Apply the rule of thirds to create balanced and engaging compositions. Position the property’s key features along the gridlines or intersections to draw attention to important elements.
Leading Lines:
Use leading lines, such as pathways or fences, to guide the viewer’s eye through the photo and emphasize the property’s entrance and layout.
Symmetry and Balance:
Capture symmetrical elements and balanced compositions to highlight the property’s architectural beauty and create a polished look.
7. Incorporate Seasonal Elements
Spring and Summer:
In spring and summer, take advantage of blooming flowers, lush greenery, and vibrant outdoor spaces. These elements add color and vibrancy to your photos, enhancing the property’s curb appeal.
Autumn and Winter:
In autumn, capture the beauty of fall foliage and cozy outdoor features. In winter, showcase the property’s charm with snow-covered landscapes or festive holiday decorations.
8. Edit for Enhancement
Adjust Lighting and Color:
In post-processing, adjust the lighting and color balance to enhance the property’s appearance. Ensure that the photos accurately represent the property while maintaining a vibrant and appealing look.
Correct Distortions:
Use editing software to correct any lens distortions, straighten lines, and remove any distractions from the image. Ensure that the final photo presents the property in the best possible light.
Enhance Details:
Highlight the property’s key features, such as architectural details, landscaping, and exterior lighting. Ensure that these elements are sharp and well-defined in the final image.
9. Include Community and Surroundings
Neighborhood Shots:
If possible, include shots of the surrounding neighborhood or community amenities. These additional photos can provide context and showcase the property’s location and environment.
Local Attractions:
Highlight nearby attractions or features that add value to the property, such as parks, schools, or shopping areas. This can provide potential buyers with a sense of the community and lifestyle.
Conclusion
Capturing curb appeal in real estate photos requires careful planning, attention to detail, and the use of specific techniques to highlight the property’s exterior features. By choosing the right time of day, using proper lighting, and capturing the best angles, you can create compelling images that attract potential buyers and showcase the property’s charm. Incorporate these tips into your photography process to enhance the curb appeal of each property and make a lasting impression.

