Creating high-quality real estate videos doesn’t have to be expensive. With the right approach and budget-friendly techniques, you can produce professional-looking videos that effectively showcase properties. Here are some tips for shooting real estate videos on a budget while maintaining a high standard of quality.
1. Use a Smartphone with a Good Camera
Smartphone Quality:
Modern smartphones come equipped with high-quality cameras capable of shooting impressive video footage. Ensure your phone’s camera settings are optimized for video, and use the highest resolution available.
Stabilization:
To prevent shaky footage, use a tripod or a gimbal designed for smartphones. Many affordable options are available that can significantly improve video stability and quality.
External Lenses:
Consider investing in inexpensive external lenses that attach to your smartphone. Wide-angle lenses can help capture more of the property’s interior, while macro lenses can enhance detail shots.
2. Invest in Affordable Equipment
Tripods:
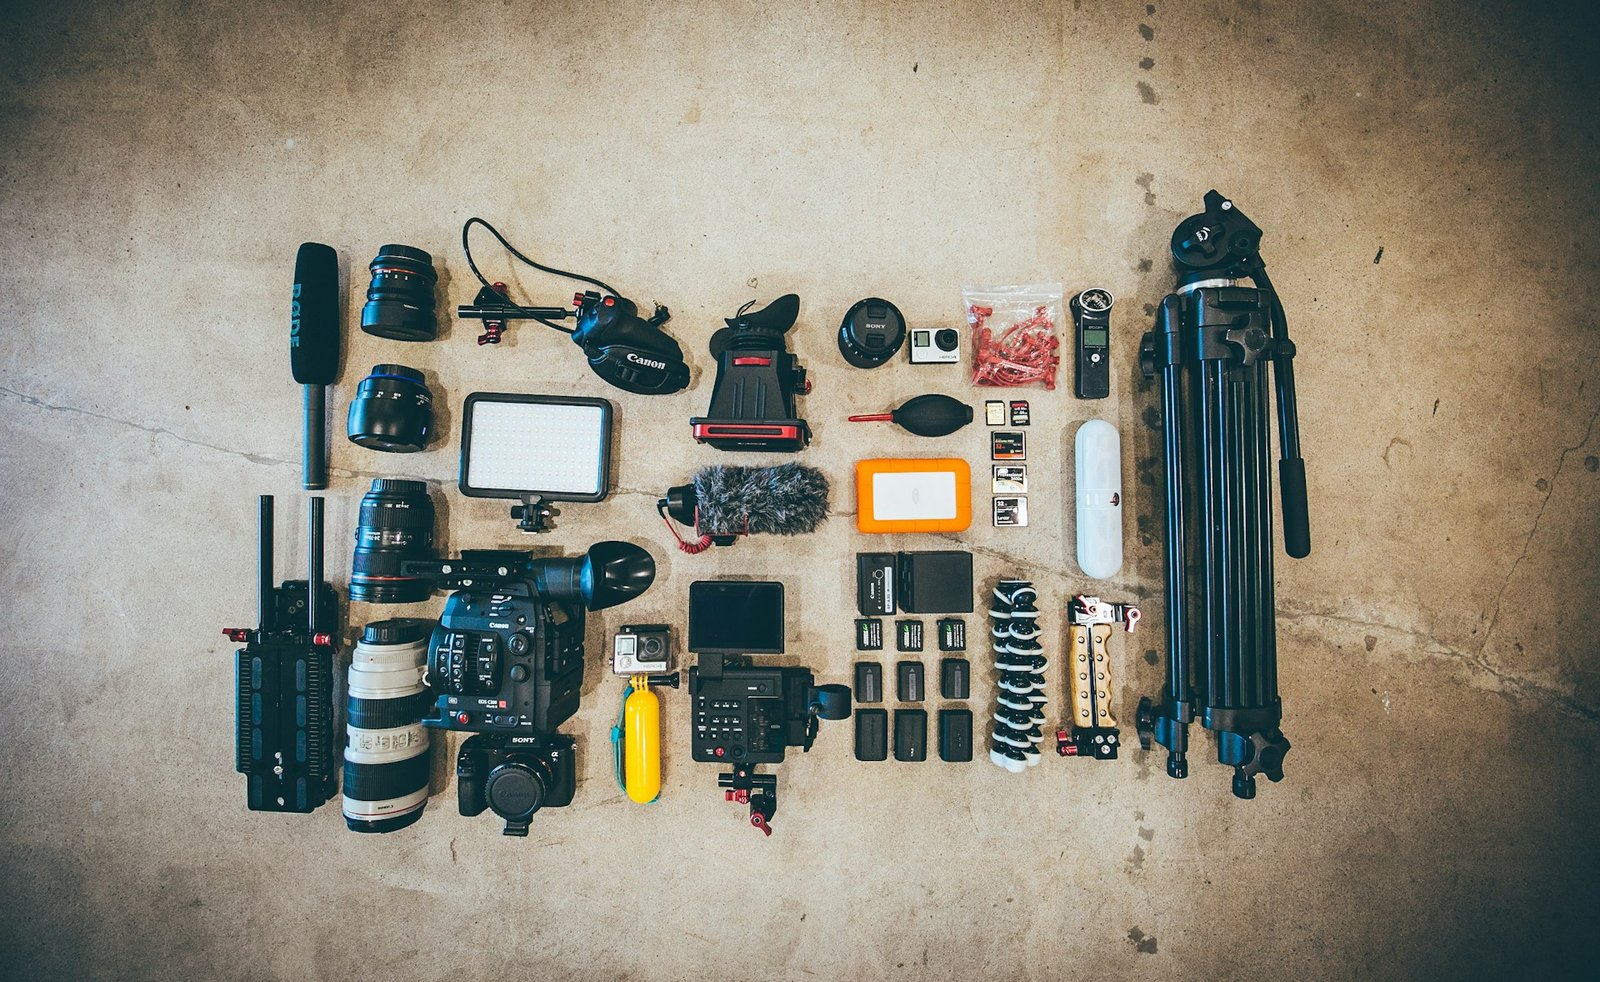
A sturdy tripod is essential for steady shots. Look for budget-friendly tripods that offer adjustable heights and stability. Many models are available for under $50 that can provide reliable support.
External Microphones:
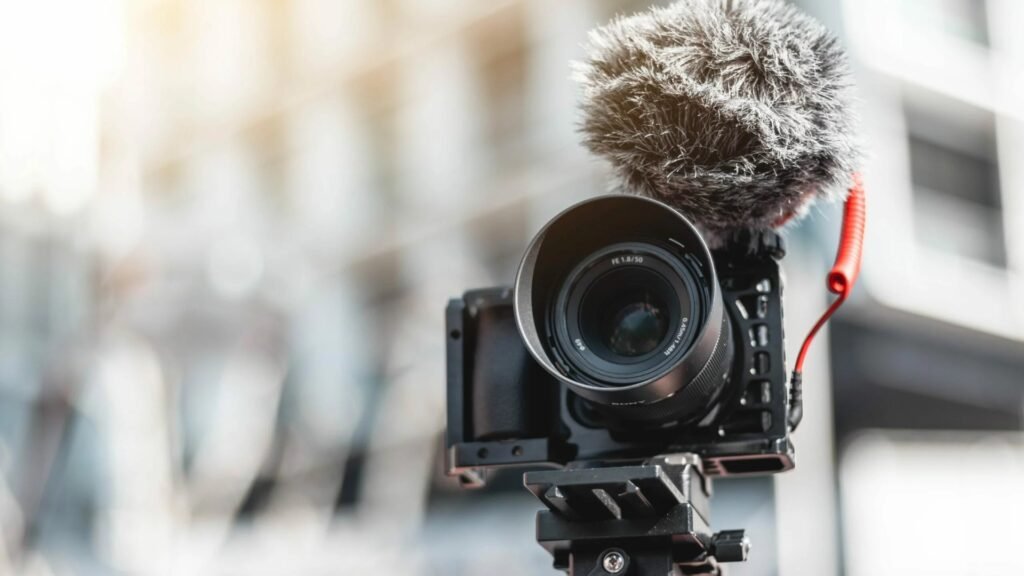
Clear audio is crucial for professional videos. Invest in a budget external microphone to improve sound quality. Lavalier (clip-on) mics or shotgun mics can be found at reasonable prices and significantly enhance audio clarity.
Lighting:
Proper lighting can dramatically improve video quality. Use affordable LED lights or softbox lighting kits to brighten up spaces and reduce shadows. Reflectors can also be used to bounce natural light and fill in dark areas.
3. Plan Your Shots and Script
Storyboarding:
Create a simple storyboard or shot list to plan out your video. Outline the key areas you want to highlight and the sequence of shots. This planning ensures you capture all necessary footage efficiently.
Script and Narration:
Prepare a basic script or narration to guide viewers through the property. A well-thought-out script can help convey important information and add a professional touch to your video.
Practice:
Do a few practice runs before filming to ensure you’re comfortable with the script and shot list. This practice helps streamline the filming process and improves overall video quality.
4. Utilize Natural Light
Timing:
Shoot during the day when natural light is at its peak. Early morning or late afternoon light can create a warm and inviting atmosphere. Avoid shooting during harsh midday sunlight, which can cause strong shadows and overexposed highlights.
Window Light:
Make the most of natural light by filming near windows. Open blinds and curtains to let in as much light as possible. Position yourself to use this light effectively, and consider using reflectors to bounce light into darker areas.
5. Use Free or Low-Cost Editing Software
Editing Tools:
Many free or low-cost editing software options offer powerful features for creating professional videos. Consider using tools like DaVinci Resolve, HitFilm Express, or iMovie for editing.
Templates and Effects:
Leverage built-in templates and effects available in these software programs. Templates can simplify the editing process, while effects can enhance your video’s visual appeal.
Online Tutorials:
Utilize online tutorials to learn how to use these editing tools effectively. Many free resources are available that can guide you through basic and advanced editing techniques.

6. Focus on Composition and Angles
Framing:
Pay attention to framing and composition to create visually appealing shots. Use techniques such as the rule of thirds to position key elements within the frame.
Angles:
Experiment with different angles to capture the property’s features from various perspectives. Wide shots can showcase entire rooms, while close-ups can highlight details like fixtures and finishes.
Smooth Movements:
Ensure smooth camera movements by practicing slow and deliberate pans or tilts. Avoid jerky movements that can detract from the professional quality of your video.
7. Keep it Simple and Concise
Video Length:
Aim for a concise video that effectively highlights the property without unnecessary content. A well-edited video of 1-3 minutes is typically sufficient to capture viewers’ attention and showcase key features.
Focus on Key Features:
Highlight the property’s most attractive features and avoid overloading the video with too much detail. Concentrate on areas that will resonate with potential buyers, such as spacious rooms, modern amenities, and unique selling points.
8. Leverage Online Resources
Stock Footage:
Incorporate royalty-free stock footage or background music to enhance your video. Websites like Pexels, Unsplash, and Pixabay offer free or affordable options that can add polish to your video.
Tutorials and Forums:
Join online forums and watch tutorials to learn new techniques and get tips from other real estate videographers. Many communities offer valuable insights and practical advice for budget-friendly video production.
Conclusion
Shooting professional real estate videos on a budget is entirely possible with the right approach and tools. By utilizing a good smartphone camera, investing in affordable equipment, and focusing on effective planning and composition, you can create high-quality videos that showcase properties attractively. Leverage free or low-cost software, and keep your videos simple and concise to maintain a professional standard without breaking the bank.

