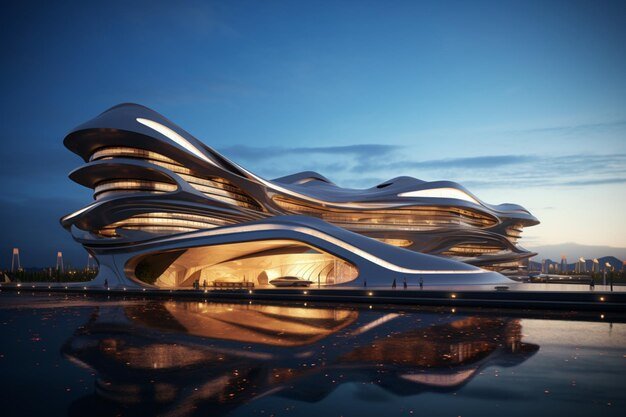
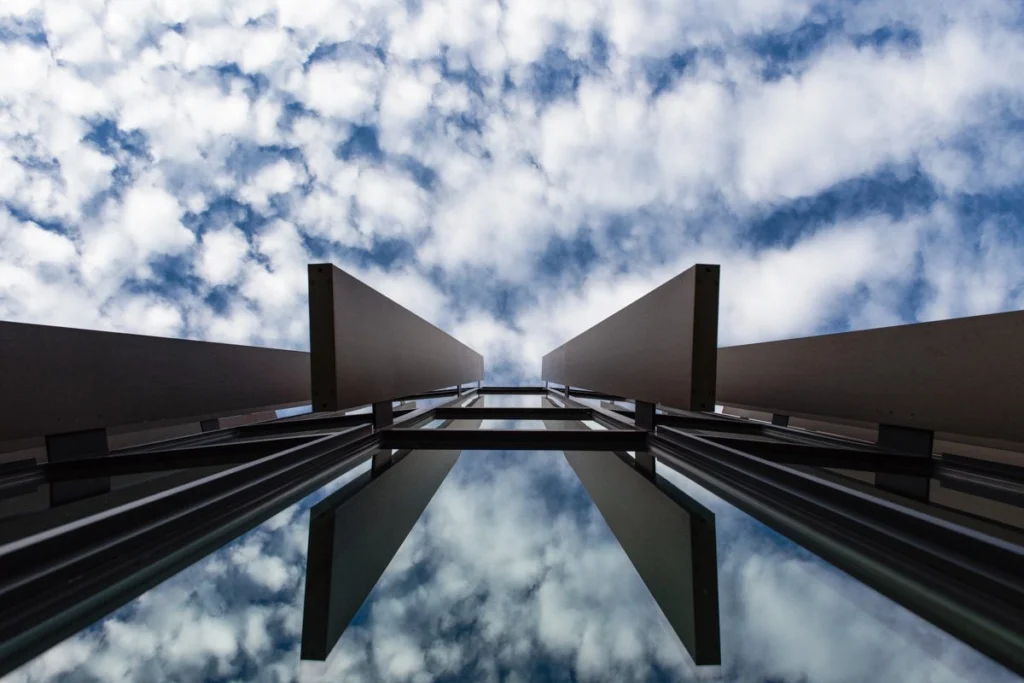
Architectural reflections add a dynamic and intriguing element to architectural photography. By using reflective surfaces such as water, glass, and polished materials, you can create compelling images that highlight the symmetry, design, and beauty of buildings. Here’s a comprehensive guide on the art of capturing architectural reflections to help you enhance your photography skills.
Understanding Reflections in Architecture
Why Reflections Matter
Symmetry and Balance:
Reflections can create a sense of symmetry and balance, making the image visually appealing and harmonious. This can emphasize the architectural design and structure of the building.
Depth and Dimension:
Reflections add depth and dimension to your photos, giving them a more three-dimensional feel. This can make your images more engaging and interesting.
Creative Composition:
Using reflections allows for creative compositions, where the reflected image interacts with the actual structure in unique ways. This can lead to striking and memorable photographs.
Finding the Perfect Reflection
Natural Water Sources
Lakes and Ponds:
Lakes, ponds, and other still bodies of water provide excellent opportunities for capturing reflections. The calm surface of the water acts like a mirror, creating clear and sharp reflections.
Rain Puddles:
After a rain, puddles can serve as natural reflectors. These small water surfaces can be used to capture parts of the building or interesting details.

Man-Made Reflective Surfaces
Glass Windows:
Glass windows and facades of buildings often reflect other structures, creating fascinating compositions. Look for angles where the reflections enhance the architectural features.
Polished Surfaces:
Marble floors, metallic surfaces, and other polished materials can reflect architecture in unique ways. Use these surfaces to capture abstract and artistic reflections.
Techniques for Capturing Reflections
Camera Settings
Manual Mode:
Shoot in manual mode to have full control over exposure settings. This allows you to adjust aperture, shutter speed, and ISO for the best results.
Aperture:
Use a small aperture (high f-stop number) like f/8 or f/11 to ensure a large depth of field, keeping both the reflection and the building in focus.
Shutter Speed:
Adjust the shutter speed based on the lighting conditions. For bright scenes, a faster shutter speed will work, while for low-light conditions, a slower shutter speed may be necessary.
ISO:
Keep the ISO as low as possible to minimize noise. Start with ISO 100 or 200 and adjust as needed.
Composition Tips
Rule of Thirds:
Apply the rule of thirds to create a balanced and dynamic composition. Place the reflection and the building at intersecting points for a more compelling image.
Leading Lines:
Use leading lines to draw the viewer’s eye towards the reflection. Architectural lines, pathways, or natural elements can serve as effective leading lines.
Symmetry:
Emphasize symmetry by aligning the reflection with the actual structure. This creates a harmonious and visually pleasing image.
Timing and Lighting
Golden Hour:
The golden hour, just after sunrise or before sunset, provides soft, warm light that enhances reflections. The low angle of the sun creates long shadows and adds depth to your photos.
Blue Hour:
The blue hour, just before sunrise or after sunset, offers cool, blue-toned light that can create a magical atmosphere. This is ideal for capturing serene and ethereal reflections.
Nighttime:
At night, artificial lights can create striking reflections. Use long exposures to capture the glowing effects of lights on reflective surfaces.
Practical Tips for Capturing Reflections
Use a Tripod
Stability:
A tripod provides stability, especially in low-light conditions or when using long exposures. This ensures sharp and clear images.
Polarizing Filter
Control Reflections:
A polarizing filter can help control reflections and reduce glare, allowing you to capture clearer and more vibrant images. Experiment with the filter to find the best angle and intensity.
Experiment with Angles
Different Perspectives:
Experiment with different angles and perspectives to find the most interesting and dynamic compositions. Move around the reflective surface and try shooting from low or high angles.
Focus on Details
Close-Up Shots:
Don’t just focus on the entire structure; capture close-up shots of interesting details reflected in surfaces. This can add variety and depth to your portfolio.
Post-Processing Tips
Enhance Reflections
Adjust Exposure and Contrast:
Adjust the exposure and contrast to make the reflections stand out. Increase the contrast to enhance the separation between the reflection and the actual structure.
Correct Colors
White Balance:
Adjust the white balance to ensure accurate color representation. Reflections can sometimes alter the colors, so fine-tuning them in post-processing is important.
Sharpening
Enhance Details:
Apply sharpening to enhance the details and textures in your reflections. Be careful not to overdo it, as this can create artifacts.
Conclusion
Capturing architectural reflections is an art that requires a keen eye for detail, an understanding of lighting and composition, and the right techniques. By exploring different reflective surfaces, experimenting with angles, and using the right settings, you can create stunning and captivating images that highlight the beauty and complexity of architectural designs. Let your creativity flow and make reflections a key element in your architectural photography.

