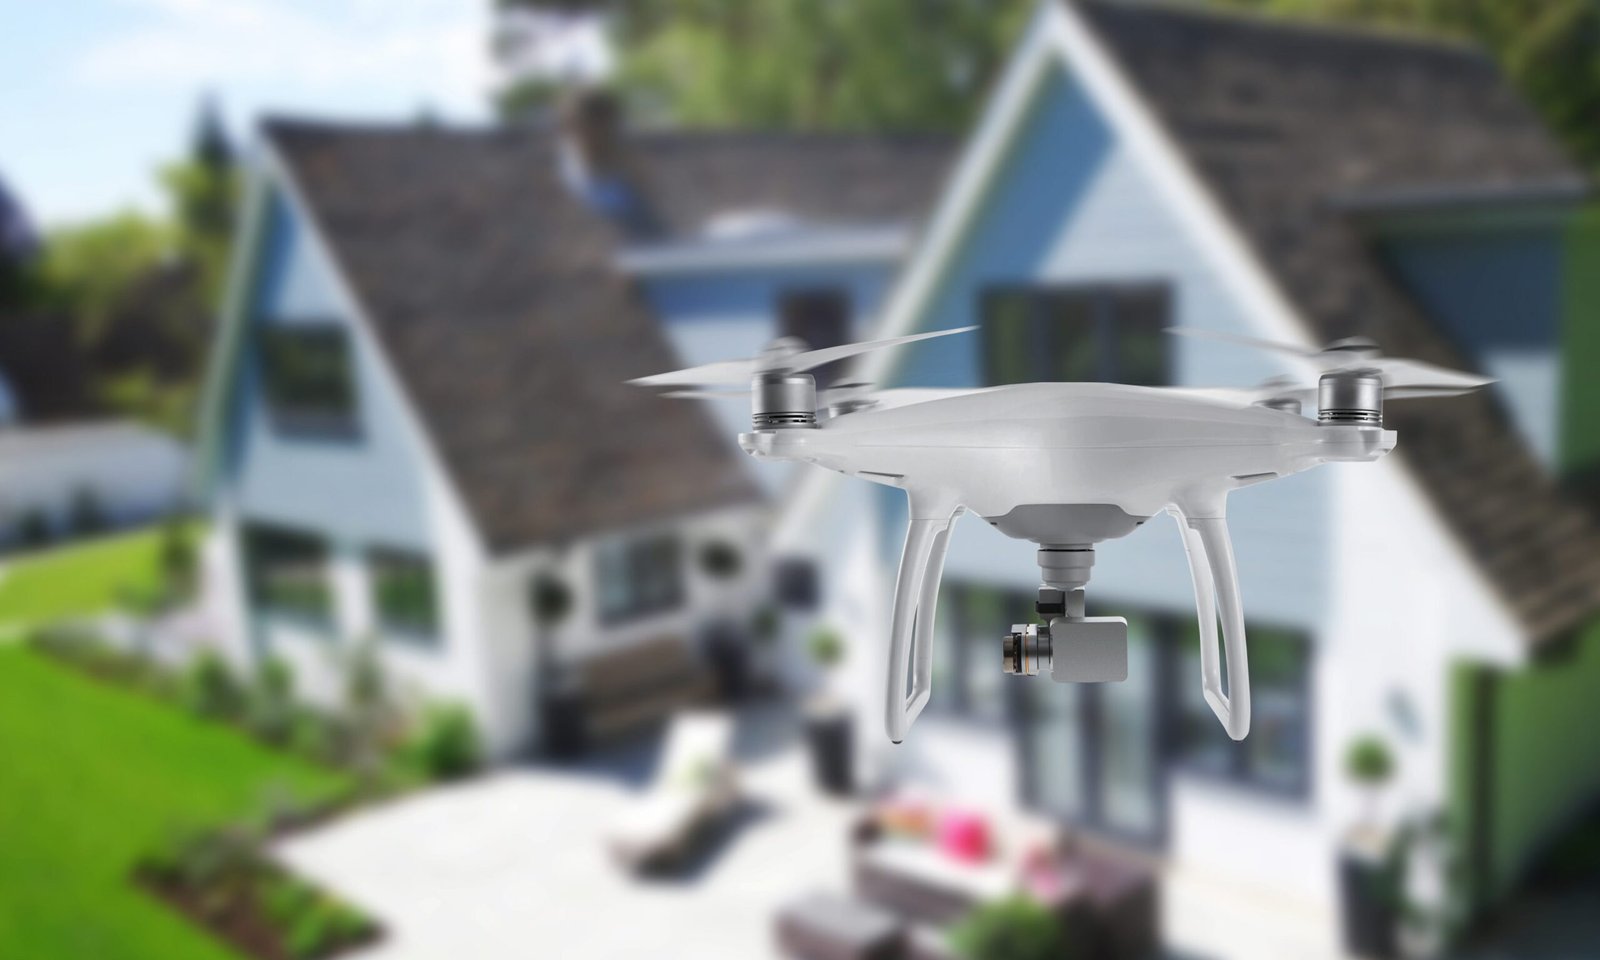
Drones have revolutionized real estate video production by providing stunning aerial views and dynamic perspectives that traditional cameras simply can’t capture. Using drones effectively can enhance your property listings, showcase unique features, and create engaging content that attracts potential buyers. Here’s a comprehensive guide on how to use drones for real estate video production, including essential tips and techniques.
1. Choose the Right Drone
Camera Quality:
Select a drone equipped with a high-quality camera that can capture crisp, high-resolution footage. Look for drones with 4K video capabilities to ensure your footage is sharp and professional.
Stability and Control:
Opt for a drone with advanced stabilization features and reliable flight controls. This will help you achieve smooth and steady footage, even in challenging conditions.
Battery Life:
Consider the drone’s battery life, as longer flight times will allow you to capture more footage in a single session. Ensure you have extra batteries on hand for extended shoots.
Examples of Good Drones:
- DJI Mavic Air 2: Known for its high-quality camera and excellent stabilization.
- DJI Phantom 4 Pro: Offers robust features and superior camera quality.
- DJI Mini 2: A more compact and affordable option with impressive capabilities.
2. Plan Your Shots
Pre-Shoot Planning:
Before launching the drone, plan your shots by mapping out the property and identifying key areas you want to highlight. Create a shot list or storyboard to ensure you capture all essential footage.
Weather Conditions:
Check the weather forecast to ensure optimal flying conditions. Avoid flying in high winds, rain, or fog, as these can impact drone stability and image quality.

Flight Permissions:
Ensure you have the necessary permissions and licenses to fly the drone, especially if flying in restricted areas. Adhere to local regulations and obtain any required permits.
3. Master Drone Flying Techniques
Smooth Movements:
Perform smooth and controlled movements to capture stable footage. Avoid abrupt changes in direction or speed, which can cause shaky or jittery video.
Aerial Angles:
Experiment with different aerial angles and heights to provide unique perspectives of the property. Wide, sweeping shots can showcase the property’s surroundings, while close-up shots can highlight specific features.
Focus on Composition:
Use principles of composition, such as the rule of thirds, to frame your shots effectively. Position key elements within the frame to create visually appealing footage.
Fly in Different Directions:
Capture footage from various directions, including top-down, oblique, and circular angles. This variety will provide a comprehensive view of the property and its features.
4. Capture High-Quality Footage
Camera Settings:
Adjust your drone’s camera settings for optimal video quality. Use a low ISO setting to reduce noise, and set the frame rate to match the desired smoothness of your footage.
Stabilization:
Ensure the drone’s gimbal is properly calibrated to stabilize the camera and reduce vibrations. This will help achieve smooth and steady footage.
Monitor Live Feed:
Use a tablet or smartphone to monitor the live feed from the drone’s camera. This allows you to adjust framing and focus in real-time and make on-the-fly adjustments.
5. Edit Your Aerial Footage
Import and Organize:
Import the drone footage into your video editing software and organize the clips based on your shot list or storyboard.
Stabilize Footage:
If necessary, use video editing software to stabilize any shaky footage. Many editing tools offer built-in stabilization features that can smooth out minor jitters.
Add Music and Effects:
Enhance your video by adding background music, transitions, and effects. Choose music that complements the property’s style and creates a cohesive viewing experience.
Color Correction:
Apply color correction to adjust the brightness, contrast, and color balance of the footage. This will ensure the video looks vibrant and polished.
6. Optimize for Distribution
Export Settings:
Export the final video in high resolution and the appropriate format for your intended distribution channels. Common formats include MP4 and MOV, with resolutions of 1080p or 4K.
Platform-Specific Adjustments:
Make any necessary adjustments for different platforms, such as aspect ratios for social media or video lengths for websites.
Include Call to Action:
Add a clear call to action at the end of the video, encouraging viewers to schedule a viewing, contact the agent, or visit the property’s website for more information.
7. Stay Informed and Updated
Ongoing Education:
Keep up with the latest advancements in drone technology and videography techniques. Attend workshops, read industry blogs, and participate in online forums to stay informed.
Networking:
Connect with other real estate videographers and drone operators to share tips, learn new techniques, and stay updated on industry trends.
Adhere to Regulations:
Stay informed about changes in drone regulations and ensure you comply with all legal requirements for drone operation.
Conclusion
Using drones for real estate video production can elevate your property listings and provide stunning visual content that captures attention. By choosing the right drone, planning your shots, mastering flying techniques, and editing your footage professionally, you can create compelling aerial videos that showcase properties in their best light. Stay informed about industry trends and regulations to ensure your drone videography remains effective and compliant.

