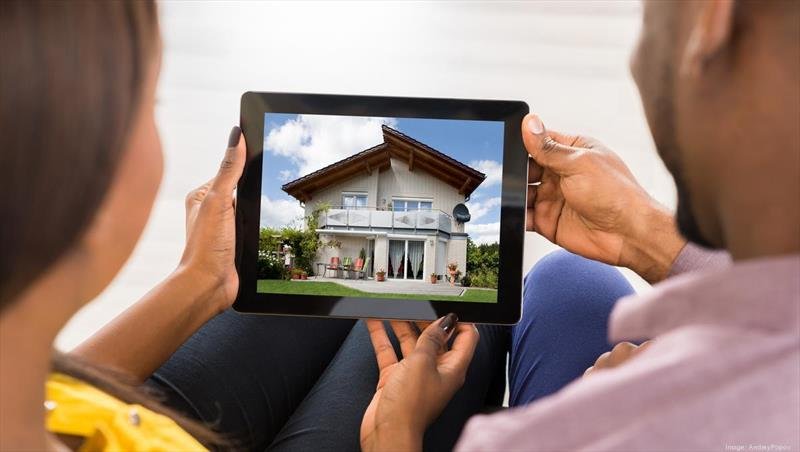
In today’s digital age, real estate listing videos are a powerful tool for attracting potential buyers and showcasing properties effectively. High-quality videos can make a significant impact on your marketing efforts, providing an immersive experience that photos alone cannot achieve. Here are some essential tips for creating high-quality real estate listing videos that will help you stand out in the competitive real estate market.
Planning Your Video
Define Your Goals
Identify Key Features:
Determine the key features of the property that you want to highlight. This could include spacious rooms, modern amenities, beautiful views, or unique architectural elements.
Target Audience:
Understand your target audience and what they are looking for in a property. Tailor your video to meet their needs and preferences.
Create a Storyboard
Plan Your Shots:
Create a storyboard to outline the sequence of shots. Plan the flow of the video, starting from the exterior and moving through the interior, highlighting important areas and features.
Script:
Write a script to guide the narration or voiceover. This ensures that you cover all essential information and maintain a consistent flow throughout the video.
Shooting Your Video
Essential Equipment
Camera:
Use a high-quality camera, such as a DSLR or mirrorless camera, capable of shooting in HD or 4K resolution. Smartphones with advanced camera features can also be effective.
Stabilization:
Invest in a gimbal or tripod to keep your shots steady and smooth. Shaky footage can be distracting and diminish the overall quality of the video.
Lighting:
Good lighting is crucial for capturing clear and vibrant footage. Use natural light as much as possible, and supplement with portable LED lights if necessary.
Microphone:
An external microphone can significantly improve audio quality, making the narration or background sounds clear and professional.
Shooting Techniques
Wide Shots:
Start with wide shots to establish the setting and give viewers an overview of the property. Use these shots for exterior views and large interior spaces.
Smooth Transitions:
Move smoothly from one area to another, using slow and steady camera movements. Avoid abrupt transitions that can disrupt the flow of the video.
Highlight Key Features:
Focus on the unique selling points of the property. Use close-up shots to showcase details like high-end finishes, appliances, and special architectural elements.
Natural Light:
Shoot during the day to take advantage of natural light. Open curtains and blinds to let in as much light as possible, and avoid shooting in low-light conditions.
Composition and Angles
Rule of Thirds:
Use the rule of thirds to create balanced and visually appealing shots. Place key elements along the grid lines and at the intersections.
Dynamic Angles:
Experiment with different angles to add variety to your shots. Use low angles to make rooms appear larger and high angles to provide a comprehensive view.
Editing Your Video
Editing Software
Choose the Right Software:
Use professional video editing software such as Adobe Premiere Pro, Final Cut Pro, or DaVinci Resolve. These tools offer advanced features for cutting, trimming, and enhancing your footage.
Cutting and Trimming
Keep It Concise:
Aim for a video length of 2-4 minutes. Trim any unnecessary footage to keep the video concise and engaging. Focus on the most important aspects of the property.
Smooth Transitions:
Use smooth transitions between shots to maintain the flow of the video. Simple cuts or fades are effective and professional.
Enhancing Footage
Color Correction:
Adjust the color balance, contrast, and brightness to enhance the overall look of the video. Ensure that the colors are accurate and consistent throughout.
Add Music:
Incorporate background music to create an engaging atmosphere. Choose a subtle and professional track that complements the tone of the video.
Voiceover:
Record a clear and professional voiceover to guide viewers through the property. Ensure the audio matches the video content and is easy to understand.
Text and Graphics
Overlay Text:
Add text overlays to highlight key information, such as room dimensions, property features, and contact details. Use clean and professional fonts.
Call to Action:
Include a call to action at the end of the video, encouraging viewers to schedule a viewing or contact you for more information.
Distributing Your Video
Social Media
Share Widely:
Share your video on social media platforms such as Facebook, Instagram, YouTube, and LinkedIn. Use relevant hashtags and tags to reach a broader audience.
Engage Viewers:
Engage with viewers by responding to comments and questions. Encourage them to share the video with their network.
Real Estate Websites
Embed Videos:
Embed the video on your real estate listing pages. This provides potential buyers with an immersive experience and can increase the time they spend on the page.
Email Marketing
Include in Newsletters:
Include the video in your email newsletters to reach your subscriber list. This can drive traffic to the property listing and generate more interest.
Conclusion
Creating high-quality real estate listing videos requires careful planning, shooting, and editing. By following these tips, you can produce videos that effectively showcase properties, engage potential buyers, and enhance your real estate marketing efforts. Invest in the right equipment, use professional techniques, and distribute your videos widely to maximize their impact.