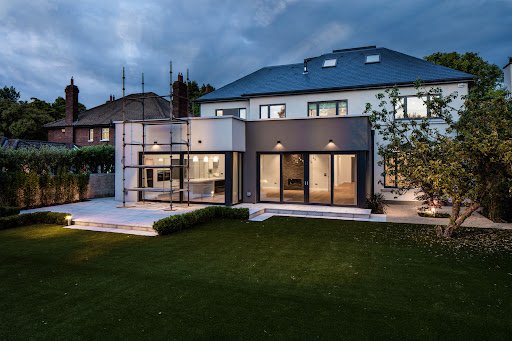
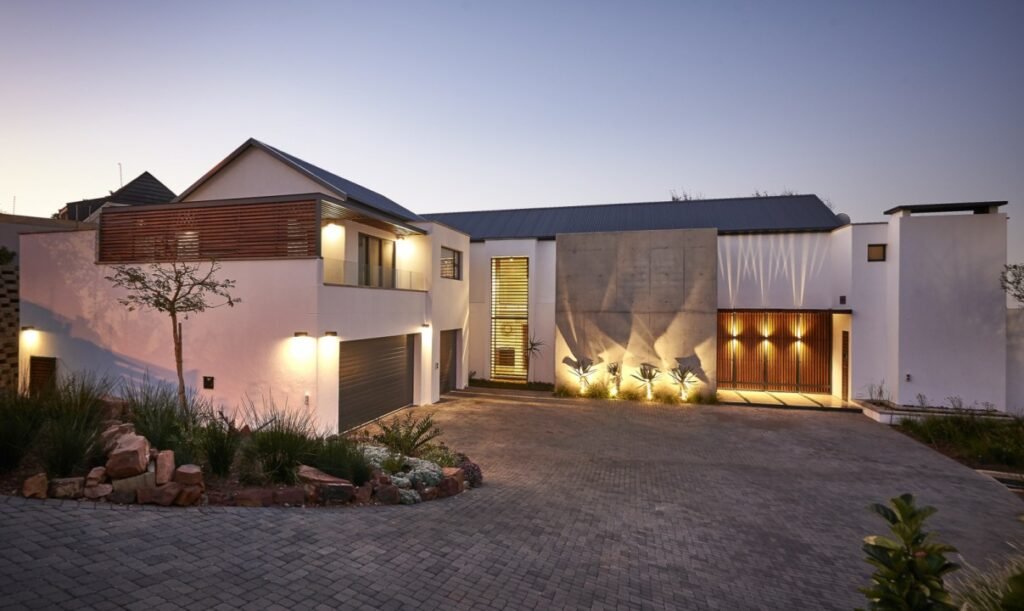
Lighting is a crucial element in architectural photography that significantly influences how structures and spaces are perceived. The right lighting can enhance architectural features, create mood, and highlight intricate details, while poor lighting can obscure important elements and diminish the overall impact of your photos. Understanding how to effectively use both natural and artificial light is essential for capturing compelling and professional architectural images. Here’s an in-depth look at the impact of lighting in architectural photography and tips for leveraging it to achieve stunning results.
The Role of Natural Light
1. Utilize the Golden and Blue Hours
Golden Hour:
The golden hour, occurring shortly after sunrise and before sunset, provides warm, soft light that adds depth and richness to architectural photos. The low angle of the sun creates long shadows that accentuate textures and details, making it an ideal time for exterior shots.
Blue Hour:
The blue hour, which occurs just before sunrise and after sunset, offers a cool, diffused light that can enhance the mood and atmosphere of your architectural photos. This period is especially effective for capturing buildings against a deep blue sky, creating a dramatic and serene effect.
2. Manage Harsh Sunlight

Avoid Midday Sun:
Midday sunlight can be harsh, casting strong shadows and creating high-contrast images. If shooting during this time is unavoidable, look for shaded areas or use a polarizing filter to reduce glare and enhance contrast.
Use Reflected Light:
Reflectors can help bounce sunlight into shadowed areas, softening harsh shadows and providing even illumination. This technique is useful for highlighting architectural details without the need for additional lighting equipment.
3. Embrace Natural Light for Interiors
Maximize Window Light:
In interior photography, utilize natural light coming through windows to illuminate spaces. Open curtains or blinds to allow soft, even light to fill the room, enhancing textures and colors without creating harsh shadows.
Consider Direction and Quality:
Pay attention to the direction and quality of natural light. Side lighting can emphasize textures and details, while diffused light from a north-facing window can provide even, shadow-free illumination.
The Role of Artificial Lighting
1. Use Soft, Diffused Lighting
Avoid Harsh Direct Light:
Direct artificial light sources can create harsh shadows and highlights that detract from the architectural details. Use soft, diffused lighting to evenly illuminate spaces and reduce unwanted contrast.
Employ Light Modifiers:
Light modifiers such as softboxes, diffusers, and reflectors can help control and soften artificial light. These tools allow you to create a more balanced and flattering light source, highlighting architectural features without overpowering them.
2. Incorporate Flash and Strobe Lighting
Use Flash for Fill Light:
In low-light conditions, use flash or strobe lighting to fill in shadows and provide additional illumination. Bounce the flash off walls or ceilings to create a soft, diffused light that enhances details without creating harsh highlights.
Control Light Intensity:
Adjust the intensity of your flash or strobe to achieve the desired effect. Use lower power settings to avoid overexposure and maintain a natural look, while ensuring that architectural details are adequately illuminated.
3. Create Dramatic Effects with Lighting
Play with Shadows:
Utilize lighting to create dramatic shadows that emphasize the architectural features and add depth to your photos. Experiment with different angles and intensities to achieve the desired effect.
Highlight Key Elements:
Use focused lighting to draw attention to specific architectural details, such as textures, patterns, or design features. This technique can help accentuate the unique aspects of a building and create visually striking images.
Techniques for Balancing Natural and Artificial Light
1. Use HDR (High Dynamic Range) Photography
Capture a Range of Exposures:
HDR photography involves taking multiple exposures of the same scene at different brightness levels and combining them to create a well-balanced image. This technique is particularly useful for balancing the contrast between natural light coming through windows and artificial light sources inside.
Adjust for Natural and Artificial Light:
HDR can help manage the exposure differences between natural and artificial light, ensuring that both are well-represented in your final image. This technique is useful for capturing both exterior views and interior spaces with varying light sources.
2. Blend Light Sources Creatively
Mix Lighting Techniques:
Combine natural and artificial light sources to create a cohesive and dynamic lighting effect. For example, use natural light to illuminate the interior and add artificial light to highlight specific features or areas.
Manage Color Temperature:
Ensure that the color temperature of your artificial lighting matches or complements the natural light to maintain a consistent look throughout the photo. Adjust your camera’s white balance settings to accurately capture the colors and tones.
Conclusion
Lighting plays a pivotal role in architectural photography, influencing how structures and spaces are portrayed. By mastering the use of natural and artificial light, you can enhance architectural features, create mood, and capture stunning images that showcase the beauty and intricacy of buildings. Whether utilizing the soft light of the golden hour, managing harsh midday sun, or incorporating artificial lighting for added effects, understanding and controlling light is essential for achieving professional and impactful architectural photos.

