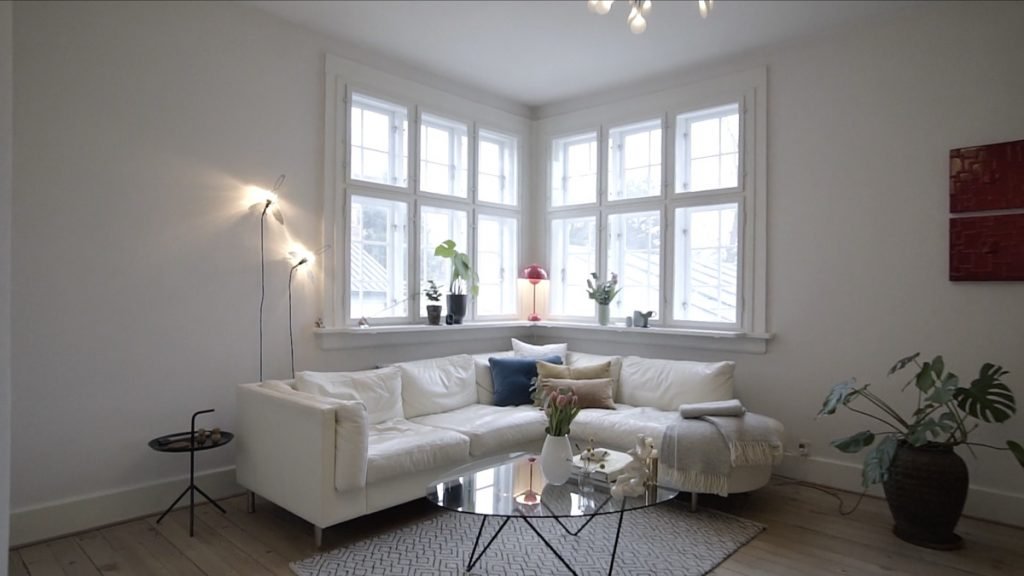
Creating a compelling real estate video requires careful scripting and planning to ensure that the final product effectively showcases the property and engages potential buyers. A well-planned video shoot can highlight key features, create a professional presentation, and make your property stand out in a competitive market. Here’s a guide on how to script and plan your real estate video shoot for maximum impact.
1. Define Your Objectives
Identify Goals:
Start by defining the primary objectives of your video shoot. Are you aiming to highlight the property’s features, create an emotional connection, or provide a virtual tour? Clearly outlining your goals will guide your scripting and planning process.
Target Audience:
Consider your target audience when planning your video. Tailor the content and style to appeal to potential buyers, whether they are first-time homebuyers, luxury property investors, or families looking for a new home.
2. Develop a Script
Outline Key Features:
Create an outline of the property’s key features that you want to highlight. Include details such as the number of bedrooms, unique amenities, recent renovations, and any standout elements that set the property apart.

Write a Compelling Introduction:
Craft an engaging introduction that captures viewers’ attention and sets the tone for the video. Introduce the property and provide a brief overview of what viewers can expect to see.
Highlight Selling Points:
Focus on the property’s most appealing aspects. Use descriptive language to emphasize features such as spacious living areas, modern kitchen appliances, or beautiful outdoor spaces.
Include a Narrative Flow:
Structure the script to create a smooth narrative flow. Guide viewers through the property in a logical sequence, starting with exterior shots, moving to the main living areas, and concluding with bedrooms and special features.
Call to Action:
End the script with a clear call to action. Encourage viewers to contact the agent, schedule a viewing, or visit the property’s website for more information. Make it easy for viewers to take the next step.
3. Plan the Shoot
Create a Shot List:
Develop a detailed shot list based on your script. Include specific shots and angles you want to capture, such as wide-angle views of rooms, close-ups of unique features, and sweeping exterior shots.
Scout the Location:
Visit the property beforehand to familiarize yourself with the layout and identify the best locations for shooting. Take note of lighting conditions, potential obstacles, and areas that may require special attention.
Schedule the Shoot:
Plan the timing of your shoot to make the most of natural light and avoid disruptions. Schedule the shoot for a time when the property is clean and staged to its best advantage. Coordinate with any homeowners or agents involved to ensure a smooth process.
Gather Equipment:
Prepare and test all necessary equipment, including cameras, lenses, tripods, lighting, and audio gear. Ensure that everything is in working order and that you have backups for critical equipment.
4. Coordinate with the Team
Brief the Crew:
If you’re working with a team, brief them on the script, shot list, and overall vision for the video. Clearly communicate roles and responsibilities to ensure everyone is on the same page.
Assign Roles:
Designate specific roles for each team member, such as camera operator, lighting technician, and sound engineer. Ensure that each person understands their tasks and how they contribute to the final product.
Conduct a Rehearsal:
If possible, conduct a rehearsal to practice the shots and transitions. This can help identify any potential issues and ensure that everyone is familiar with the shoot plan.
5. Capture the Footage
Follow the Script:
Stick to the script and shot list during the shoot. Capture all necessary footage and be mindful of framing, lighting, and camera angles. Ensure that each shot aligns with the planned narrative flow.
Adapt and Improvise:
Be prepared to adapt and make adjustments as needed. If unexpected challenges arise, such as changes in lighting or interruptions, find creative solutions to maintain the quality of the footage.
Review Footage:
Periodically review the footage during the shoot to check for quality and ensure that you’re capturing the desired shots. Make any necessary adjustments on the spot to avoid reshooting later.
6. Post-Shoot Editing and Review
Organize Footage:
After the shoot, organize the footage and review it to ensure that you have captured all necessary shots. Label and sort the clips to streamline the editing process.
Edit the Video:
Use video editing software to assemble and refine the footage. Follow the script and narrative flow, and incorporate any additional elements such as music, narration, or text overlays.
Seek Feedback:
Share the edited video with colleagues or clients to gather feedback. Make any necessary revisions based on their input to improve the final product.
Finalize and Distribute:
Once the video is finalized, export it in the appropriate format and resolution for your distribution channels. Share the video on your website, social media platforms, and other marketing channels to reach potential buyers.
Conclusion
Scripting and planning a real estate video shoot are crucial steps in creating an engaging and professional property presentation. By defining your objectives, developing a detailed script, planning the shoot, and coordinating with your team, you can produce high-quality videos that effectively showcase properties and attract potential buyers. Follow these steps to ensure a smooth and successful video shoot that highlights the best features of your listings.

