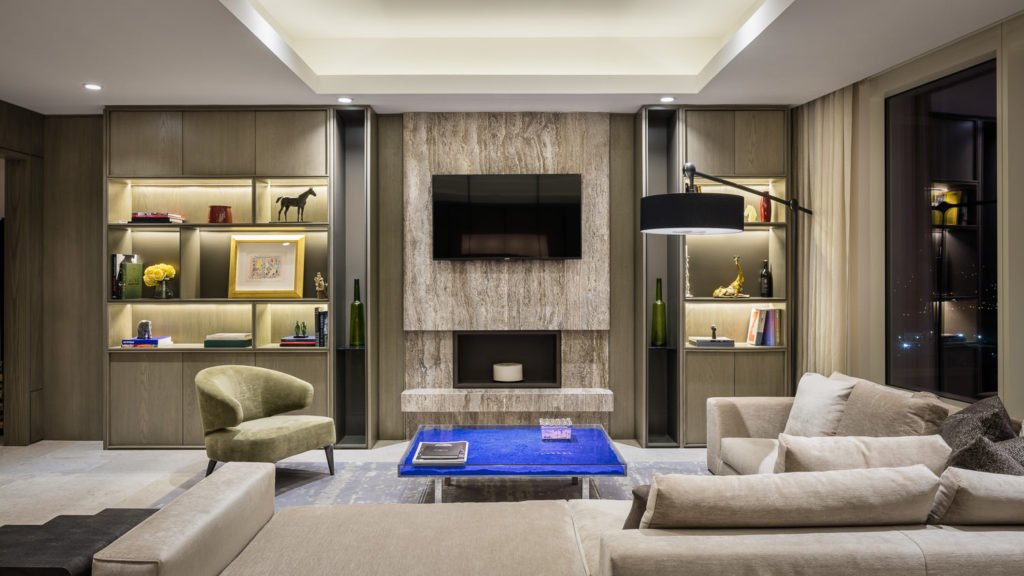
Perspective is a powerful tool in architectural photography, playing a crucial role in how buildings and structures are represented. By understanding and manipulating perspective, photographers can highlight architectural details, create a sense of scale, and produce images that are both dynamic and visually appealing. Here’s an in-depth look at the role of perspective in architectural photography and how to use it effectively.
Understanding Perspective in Photography
Perspective refers to the way objects appear to the eye based on their spatial attributes: their dimensions, positions, and the distance between them. In architectural photography, perspective can influence how a building’s proportions, shapes, and details are perceived.
Types of Perspective in Architectural Photography
1. Linear Perspective
Definition:
Linear perspective is created by the convergence of parallel lines as they recede into the distance, meeting at a vanishing point. This technique is often used to create a sense of depth and dimension.
Application:
Photographing a long corridor or a row of columns can illustrate linear perspective effectively. The converging lines draw the viewer’s eye into the depth of the image, enhancing the three-dimensional feel.
2. Forced Perspective
Definition:
Forced perspective involves manipulating the viewer’s perception to make an object appear larger, smaller, closer, or farther away than it actually is.

Application:
Use forced perspective to create interesting and unusual images. For example, positioning a small statue in the foreground can make it appear larger in relation to a distant building, adding a playful or dramatic effect.
3. Aerial Perspective
Definition:
Aerial perspective (or atmospheric perspective) is the effect the atmosphere has on the appearance of objects as they recede into the distance. Distant objects appear lighter and less distinct due to the scattering of light.
Application:
Capture expansive architectural landscapes or cityscapes to illustrate aerial perspective. The gradual fading of distant buildings can add a sense of depth and vastness to your images.
Techniques for Effective Use of Perspective
1. Change Your Viewpoint
High and Low Angles:
Shooting from a high angle can provide an overview of the architectural layout, while a low angle can make a building appear more imposing and grand. Experiment with different heights to discover unique perspectives.
Diagonal Views:
Position your camera at a diagonal to the building to create dynamic compositions. Diagonal lines can add energy and movement to your photos, making them more engaging.
2. Use a Wide-Angle Lens
Capture More of the Scene:
A wide-angle lens allows you to capture a broader view of the architecture, emphasizing the scale and grandeur of the building. It can also create a sense of depth by exaggerating the distance between foreground and background elements.
Correct for Distortion:
While wide-angle lenses can introduce distortion, this effect can be used creatively to enhance the perspective. Alternatively, software tools can correct distortion to maintain the integrity of architectural lines.
3. Incorporate Leading Lines
Guide the Viewer’s Eye:
Leading lines naturally draw the viewer’s eye into the photo and towards the main subject. Use elements such as roads, pathways, or building edges to create these lines and enhance the sense of depth.
Create a Focal Point:
Position the vanishing point of the leading lines at the main architectural feature you want to highlight. This technique ensures that the viewer’s attention is directed to the most important part of the image.
4. Emphasize Depth and Layers
Foreground, Middle ground, and Background:
Incorporate elements at different distances from the camera to create layers within your composition. This technique adds depth and dimension, making the photo more visually interesting.
Play with Scale:
Include objects or people in the foreground to provide a sense of scale. This helps the viewer understand the size and proportion of the architecture in relation to familiar elements.
Practical Tips for Using Perspective
1. Plan Your Shots
Scout Locations:
Before shooting, visit the location to identify the best angles and viewpoints. Take test shots to see how different perspectives affect the composition.
Time of Day:
Consider the time of day and how the lighting will affect the perspective. Shadows can enhance the sense of depth, while soft, even lighting can reduce the appearance of perspective.
2. Use a Tripod
Stability and Precision:
A tripod provides stability, allowing you to compose your shot precisely and avoid camera shake. This is particularly important when shooting long exposures or in low-light conditions.
Revisit Compositions:
Using a tripod allows you to revisit and adjust compositions without changing your position. This can be useful for making small adjustments to perspective and framing.
3. Edit with Care
Correct Distortions:
Use photo editing software to correct any unwanted distortions caused by wide-angle lenses. Tools like perspective correction and lens correction can help maintain straight lines and accurate proportions.
Enhance Depth:
Adjust contrast, brightness, and sharpness to enhance the sense of depth and dimension. Subtle editing can make architectural features stand out and create a more impactful image.
Conclusion
Perspective is a vital element in architectural photography that influences how buildings and spaces are perceived. By understanding and manipulating perspective, photographers can highlight architectural details, create a sense of scale, and produce dynamic and engaging images. Whether using linear perspective to draw the viewer’s eye, experimenting with high and low angles, or incorporating leading lines to guide the composition, mastering perspective will elevate your architectural photography and help you capture the beauty and intricacy of architectural designs.

