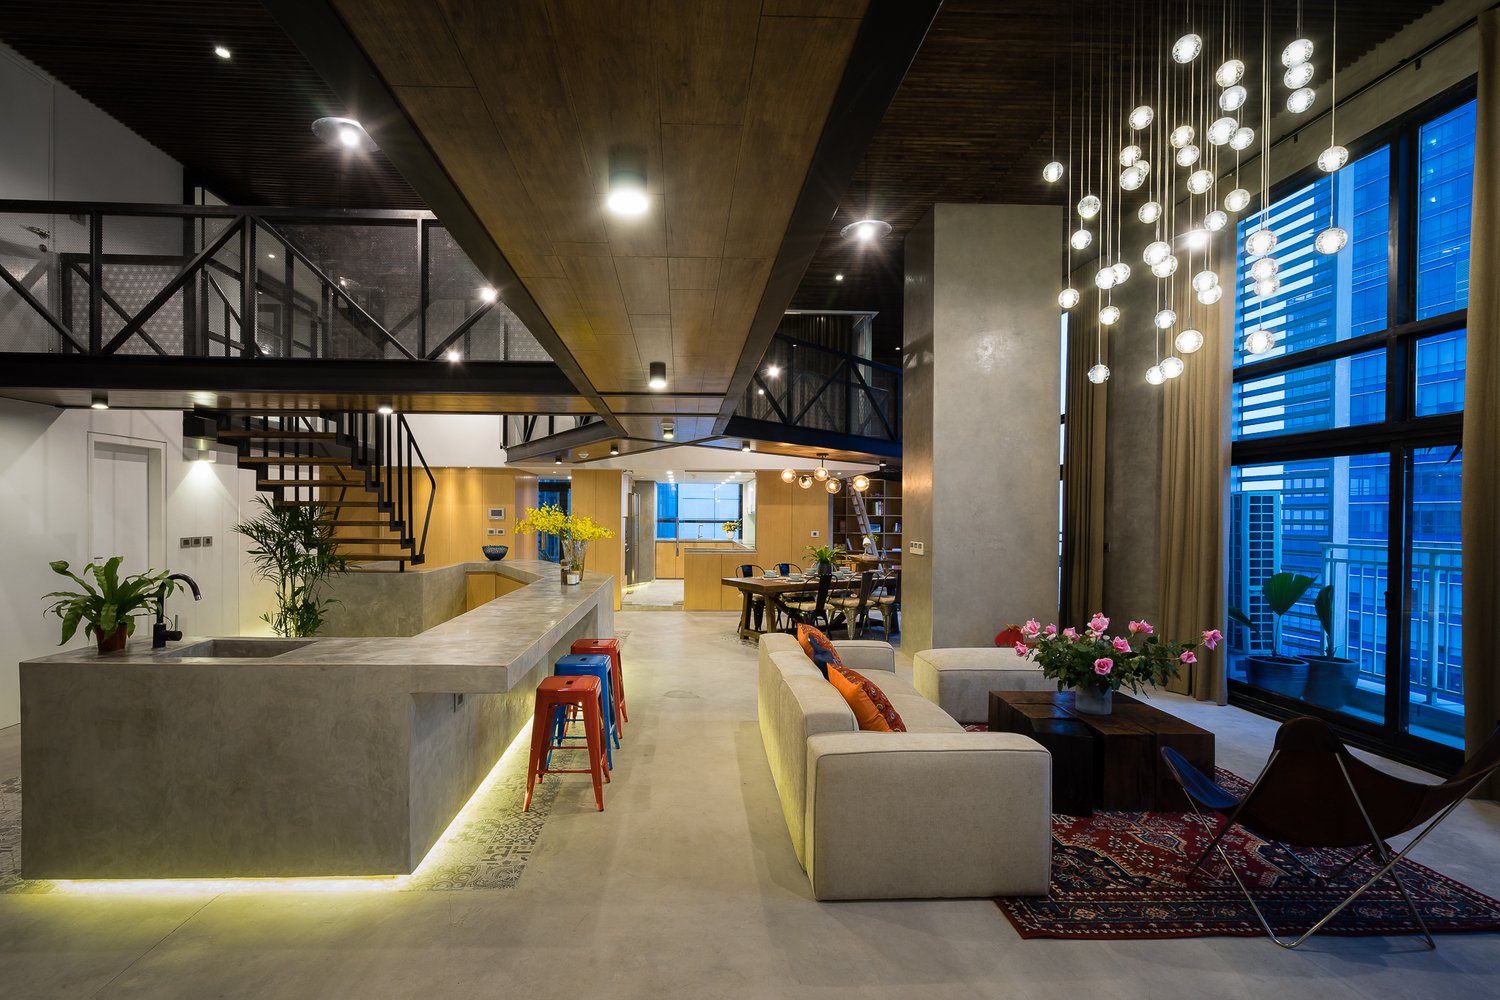
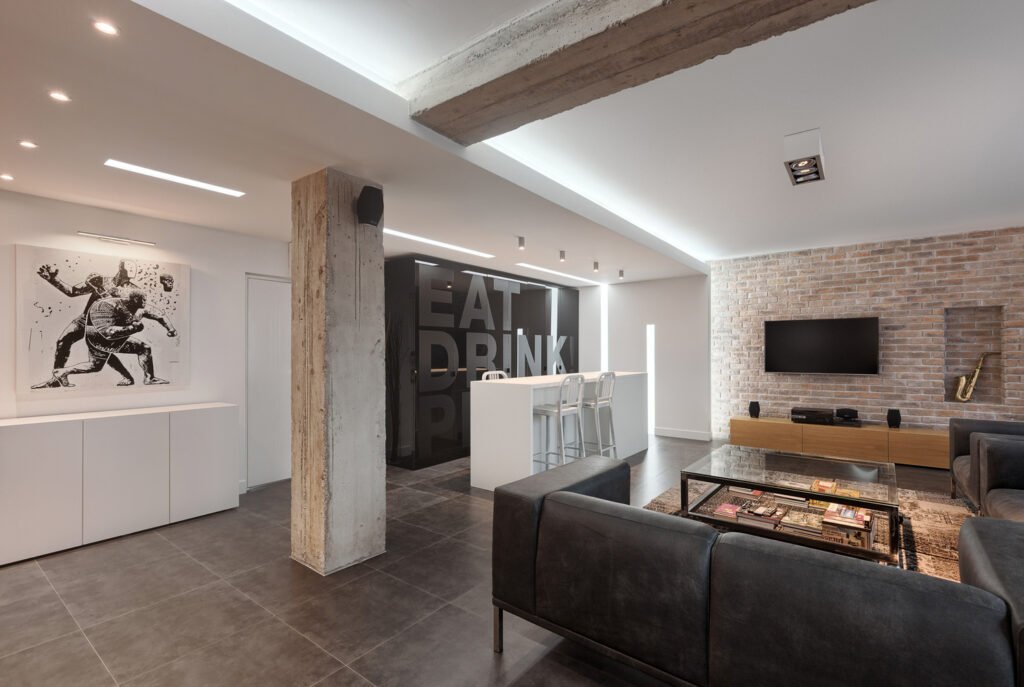
Capturing high-quality interior photos in low light can be challenging, but with the right techniques and equipment, you can produce stunning images that showcase the beauty of indoor spaces. Here are some essential tips and techniques to help you capture high-quality interior photos in low light.
Use a Tripod
A tripod is an essential tool for low-light photography. It stabilizes your camera, allowing you to use slower shutter speeds without introducing camera shake. This is particularly important in low light, where longer exposures are often necessary to capture enough light. Ensure your tripod is sturdy and stable to keep your camera secure during long exposures.
Adjust ISO Settings
ISO controls your camera’s sensitivity to light. In low-light conditions, increasing the ISO can help brighten your photos. However, higher ISO settings can introduce noise, which can reduce image quality. Aim to use the lowest ISO setting possible while still achieving a well-exposed photo. Modern cameras handle higher ISO settings better, so experiment with different ISO levels to find the right balance between brightness and noise.

Optimize Aperture
The aperture setting, measured in f-stops, controls the amount of light entering the camera. A wider aperture (lower f-stop number) allows more light to reach the camera sensor, which is beneficial in low-light conditions. However, a very wide aperture can reduce the depth of field, making parts of your image appear out of focus. For interior photography, an aperture setting between f/2.8 and f/5.6 is generally a good starting point.
Slow Down the Shutter Speed
In low-light conditions, slowing down the shutter speed allows more light to hit the camera sensor, resulting in a brighter image. However, using a slower shutter speed increases the risk of camera shake, so it’s crucial to use a tripod. For interior photography, a shutter speed between 1/30 and several seconds can work well, depending on the available light and the effect you want to achieve.
Use Natural Light When Possible
Maximize the use of natural light by shooting during the day and opening curtains and blinds to let in as much light as possible. Natural light creates a warm and inviting atmosphere and can help reduce the need for artificial lighting. Position your camera to take advantage of natural light sources, such as windows, to illuminate your subjects effectively.
Utilize Artificial Lighting
When natural light is insufficient, use artificial lighting to brighten your interiors. Consider using a combination of ambient lighting (such as ceiling lights) and additional light sources (such as floor lamps or softboxes). Ensure that the color temperature of your artificial lights matches to avoid unwanted color casts. Use diffusers or reflectors to soften harsh shadows and create a more balanced lighting setup.
Shoot in RAW Format
Shooting in RAW format preserves the maximum amount of data captured by your camera’s sensor, providing greater flexibility in post-processing. RAW files retain more detail and allow for more extensive adjustments to exposure, white balance, and noise reduction. Although RAW files are larger and require more storage space, the benefits in image quality and editing capabilities make them worth using, especially in challenging lighting conditions.
Post-Processing Techniques
Effective post-processing can significantly enhance your low-light interior photos. Use photo editing software like Adobe Lightroom or Photoshop to adjust exposure, contrast, and white balance. Apply noise reduction techniques to minimize any noise introduced by higher ISO settings. Additionally, use the highlight and shadow recovery tools to bring out details in both the brightest and darkest areas of your photos.
Use Exposure Bracketing
Exposure bracketing involves taking multiple shots of the same scene at different exposure levels. This technique is particularly useful in low-light interior photography, where lighting conditions can be uneven. By merging these exposures in post-processing, you can create a high dynamic range (HDR) image that captures details in both shadows and highlights. Use HDR software or the HDR merge function in Lightroom to combine your bracketed exposures seamlessly.
Experiment with Composition
Composition plays a crucial role in creating compelling interior photos. Experiment with different angles and perspectives to find the most flattering views of your subject. Use leading lines, symmetry, and framing techniques to draw attention to key elements of the room. Move furniture or decor items if necessary to achieve a balanced and aesthetically pleasing composition.
Conclusion
Capturing high-quality interior photos in low light requires a combination of the right camera settings, lighting techniques, and post-processing skills. By using a tripod, optimizing your ISO, aperture, and shutter speed settings, and taking advantage of natural and artificial light, you can create stunning images that showcase the beauty of indoor spaces. Remember to shoot in RAW format and use post-processing techniques to enhance your photos further. With practice and experimentation, you can master the art of low-light interior photography.

